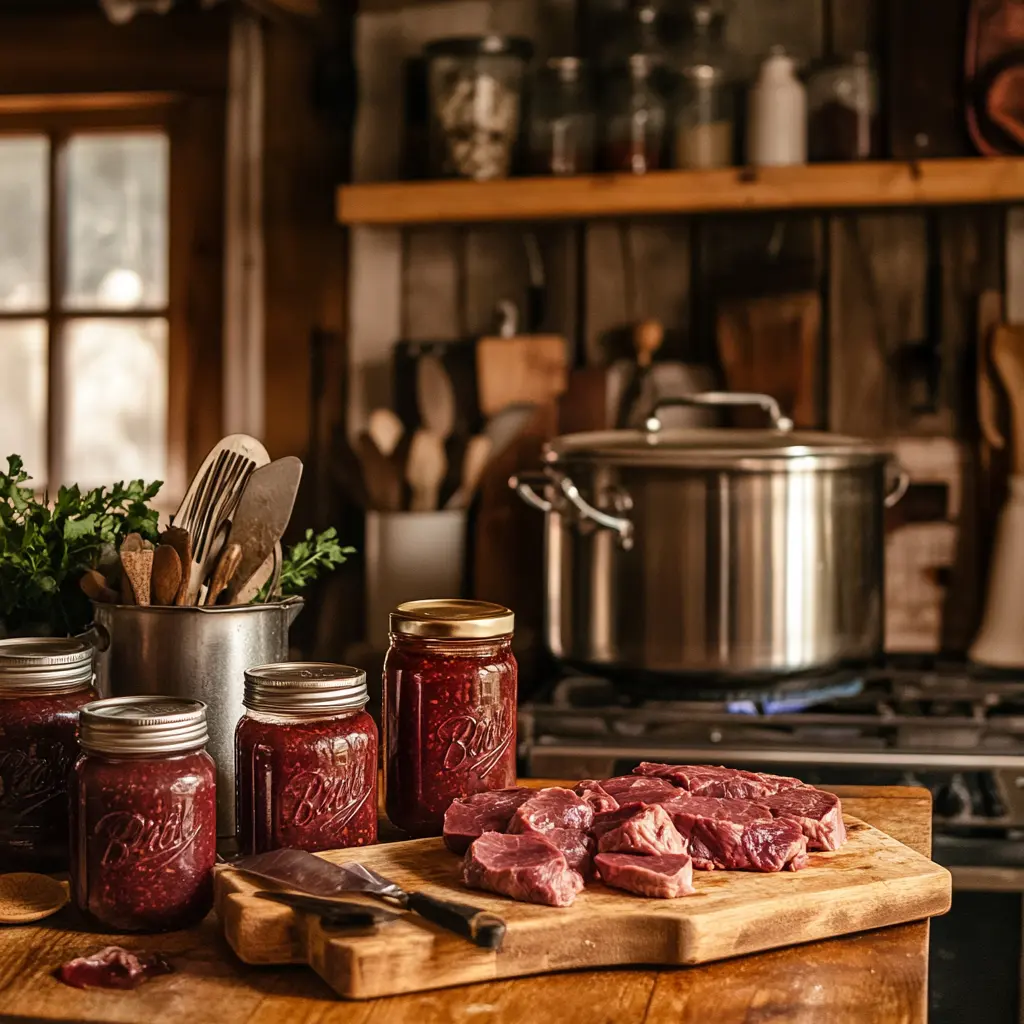
Canning venison at home is more than just a way to preserve meat—it’s an art and a tradition that connects you to nature, family, and self-sufficiency. Whether you’re a seasoned hunter or simply someone looking to extend the shelf life of your venison harvest, learning how to can venison properly and safely is a skill that can pay off for years to come. In this comprehensive guide, we’ll walk you through the essential steps to start canning venison at home, offering you the knowledge and confidence to preserve your meat safely and enjoy it later in a variety of meals.
Why Canning Venison Is Worth the Effort
What Is Canning and Why Canning Venison Is a Great Choice?
Canning is a process of preserving food by sealing it in airtight containers and heating it to destroy harmful bacteria, yeast, and molds that could cause spoilage. It’s an effective way to extend the shelf life of perishable foods, and when done properly, it allows you to store meat for months or even years without refrigeration.
Venison, as a lean and flavorful game meat, is an excellent candidate for canning. The low-fat content and rich taste make it a prized ingredient in various recipes. By canning venison, you not only preserve its freshness but also enjoy the convenience of having ready-to-eat, high-protein meals at your fingertips. Whether you’re a hunter looking to make the most of your harvest or simply want to store meat for future use, canning venison is a sustainable and cost-effective option.
Essential Equipment for Canning Venison Safely at Home
Pressure Canner: The Key to Safe Venison Canning
One of the most critical pieces of equipment for canning venison safely is a pressure canner. Unlike water bath canning, which is suitable for high-acid foods like fruits and jams, pressure canning uses high pressure and heat to destroy the harmful bacteria that can cause foodborne illnesses. Venison, being a low-acid meat, requires the higher temperature that a pressure canner provides to ensure it’s safe for long-term storage.
It’s important to note that a regular pressure cooker is not the same as a pressure canner. A pressure canner is larger, designed for canning, and comes with a gauge to monitor the pressure, ensuring the safety of your food.
Jars and Lids: The Basics of Canning Containers
When canning venison, you’ll need mason jars or similar canning jars that are designed to withstand the heat of the canning process. Be sure to choose jars that are free of chips or cracks, as these could lead to unsafe seals. Additionally, use new lids to ensure an airtight seal. You can reuse the jars themselves, but it’s important to replace the lids each time.
Other Necessary Tools and Accessories
While jars and lids are the basics, there are a few other tools you’ll need to make your canning process smoother:
- Canning Funnel: Helps pour ingredients into jars without making a mess.
- Jar Lifter: Essential for safely removing hot jars from the canner.
- Lid Lifter: Used to handle the hot lids while sealing jars.
- Sterilization Supplies: Make sure to thoroughly clean your jars, lids, and tools to prevent contamination.
Preparing Venison for Canning
Cutting and Trimming: Getting the Meat Ready
Before you start the canning process, it’s crucial to prepare your venison properly. Begin by trimming off excess fat, as venison fat tends to become rancid more quickly than the meat itself. While some fat can add flavor, excessive fat can spoil faster, so be mindful of how much you leave on the meat.
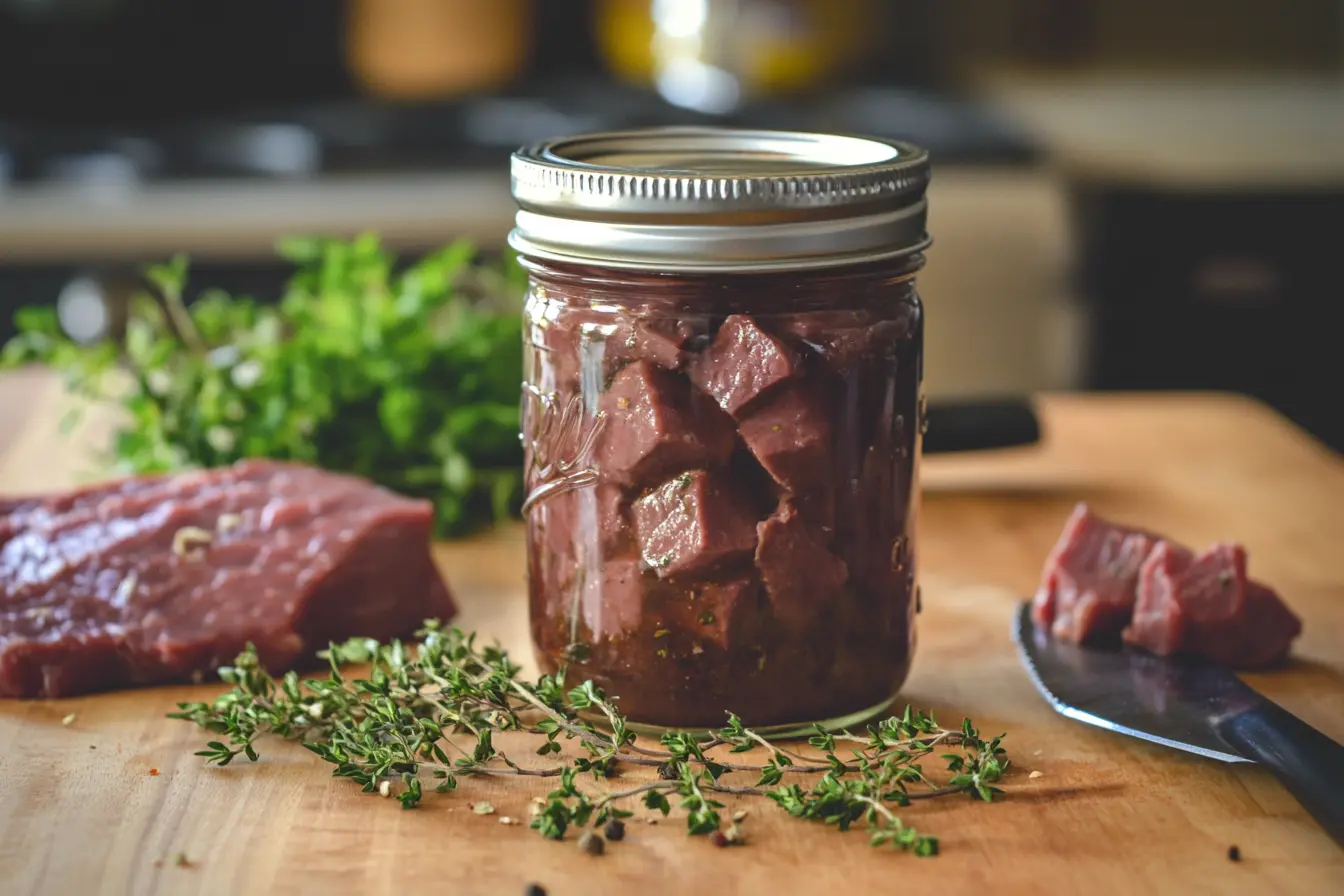
Next, cut the venison into manageable pieces. The most common sizes for canning venison are 1-inch cubes or strips. If you’re canning large pieces like roasts, make sure they’re small enough to fit into your jars and allow the heat to penetrate evenly.
Choosing the Right Cuts
Certain cuts of venison work better for canning than others. Stew meat, shoulder cuts, and roasts are ideal for canning because they break down and become tender during the canning process. Lean cuts are preferred, as they retain their flavor and texture well once preserved.
Pre-Cooking the Venison: Optional but Recommended
While you can raw pack venison directly into the jars, pre-cooking the meat (browning it in a skillet) is a good option to enhance its flavor. Pre-cooking also helps remove some of the excess fat and juices, which can make the canning process more efficient. Browning meat can also add a richer taste to your final product.
Packing Jars with Venison
Raw vs. Cooked Packing: Which Method to Choose?
There are two primary methods for packing venison into jars: raw packing and hot packing.
- Raw packing involves placing raw, uncooked venison into jars without any added liquid. This method is quicker but can result in a less flavorful final product. Raw packing works best when you add broth or water during the canning process.
- Hot packing involves cooking the venison before packing it into the jars. This method tends to preserve more flavor and texture, as the meat is partially cooked before sealing. Hot packing is especially useful for tougher cuts, as it helps tenderize them.
Adding Liquids: What to Use for Flavor and Preservation
When packing your jars, you’ll need to add some sort of liquid to the meat. Broth, water, or stock are popular options. You can also add seasonings or herbs, such as garlic, onions, and bay leaves, to enhance the flavor. For the best results, use beef or vegetable broth for a savory flavor or venison stock if you have it.
Ensuring Proper Headspace
One critical aspect of canning is leaving the right amount of space at the top of each jar. The standard recommendation is to leave about 1 inch of headspace. This ensures that there’s enough room for the food to expand during the canning process and creates a proper seal.
The Canning Process: Step-by-Step Instructions

Loading the Pressure Canner
Once your jars are packed with venison and sealed with lids, you’re ready to load them into the pressure canner. Always follow the manufacturer’s instructions for your specific canner model. Typically, you will need to add water to the canner—enough to generate steam but not so much that the jars are submerged.
Setting the Pressure and Canning Time
Venison requires high pressure for safe canning. The exact time and pressure will vary based on your altitude and the size of the jars. For quarts, the standard processing time is 90 minutes at 10-15 PSI (pounds per square inch), depending on your location’s altitude. Always refer to your pressure canner’s manual for precise instructions.
Sealing and Cooling
After the canning process is complete, allow the pressure to drop naturally before removing the jars from the canner. Let the jars cool for several hours on a clean towel or cooling rack. As they cool, you should hear the familiar “pop” sound, signaling that the lids have sealed properly.
Storing and Using Canned Venison
Proper Storage Techniques for Canned Venison
Once your jars are sealed and cooled, it’s time to store them. Cool, dark places like a basement or pantry are ideal. The temperature should be consistent and between 50°F to 70°F. It’s also important to store your jars off the floor to avoid potential contamination.
Canned venison can last up to 1 year if stored properly. Always check the seal on each jar before use. If the lid is loose or bulging, discard the jar to avoid any health risks.
How to Safely Use Canned Venison
Canned venison is versatile and can be used in a variety of recipes. Here are some ideas:
- Venison Stew: Add vegetables like potatoes, carrots, and onions to canned venison for a hearty meal.
- Venison Sandwiches: Shred the canned meat and use it in sandwiches or wraps with your favorite condiments.
- Venison Casseroles: Incorporate canned venison into baked dishes for a protein-packed meal.
When reheating canned venison, it’s important to bring the contents to a boil for a few minutes to ensure any bacteria that may have survived the canning process are eliminated.
Conclusion: The Reward of Canning Venison at Home
Canning venison at home isn’t just a way to preserve meat—it’s an enriching process that connects you to your food and your heritage. By following the steps outlined here, you’ll be able to safely preserve your venison, ensuring that you have delicious, nutritious meals ready to enjoy throughout the year.
Start by gathering the right equipment, preparing your venison carefully, and following the proper canning techniques. With time and practice, you’ll master the art of canning venison and open your pantry to a variety of flavorful, home-preserved meals.
FAQ Section: All Your Venison Canning Questions Answered
Can you can venison without cooking it first?
Yes, you can raw pack venison, but pre-cooking (hot packing) is recommended for better flavor and texture.
How long can canned venison last on the shelf?
Properly canned venison can last for up to one year when stored in a cool, dark place.
Can I can venison without a pressure canner?
No, you must use a pressure canner to safely can venison, as it requires high heat and pressure to destroy harmful bacteria.
How do I know if my canned venison is bad?
If the seal is broken, the lid is bulging, or there’s an off smell, discard the jar.
What is the best way to store canned venison?
Store canned venison in a cool, dark place, ideally between 50°F and 70°F, and away from direct sunlight.
By following these guidelines, you can feel confident in your ability to safely can venison at home, preserving this delicious game meat for months to come. Ready to give it a try? Gather your supplies and start your canning journey today!

