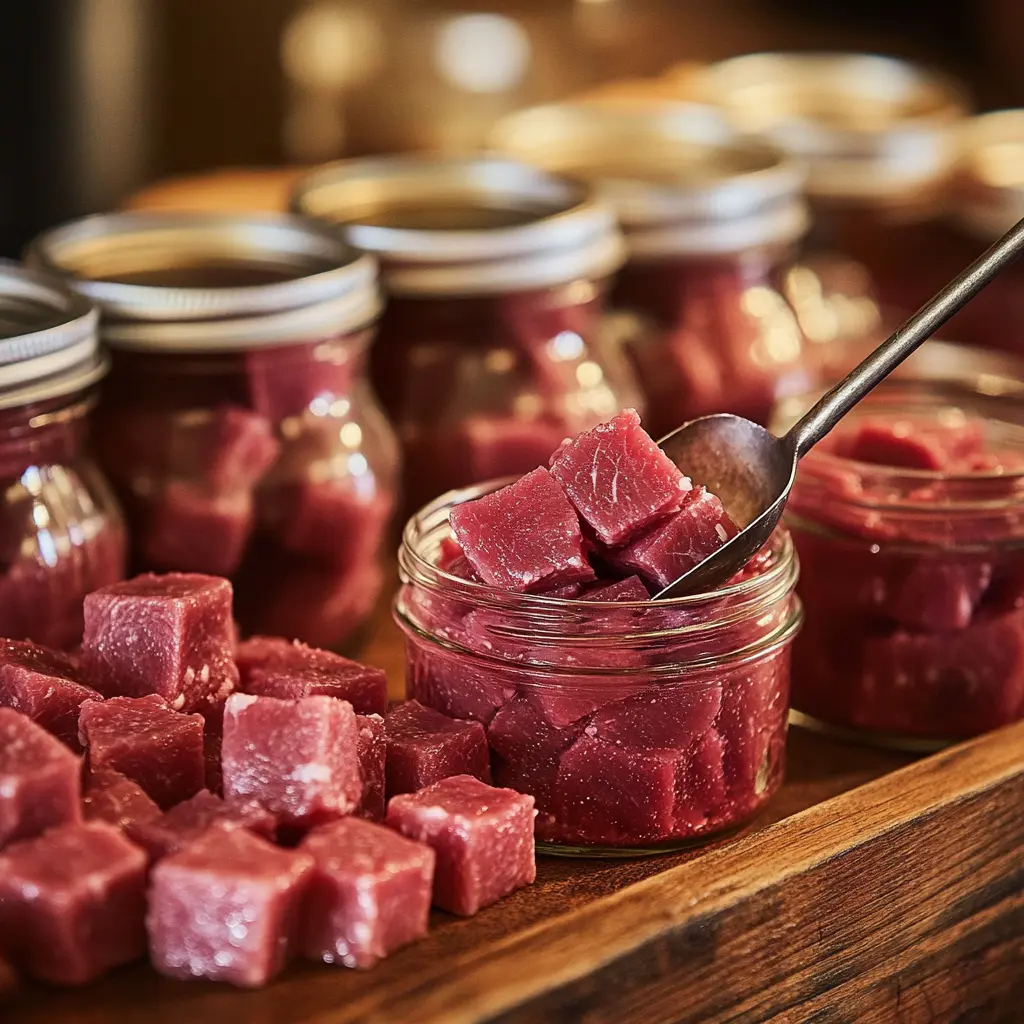
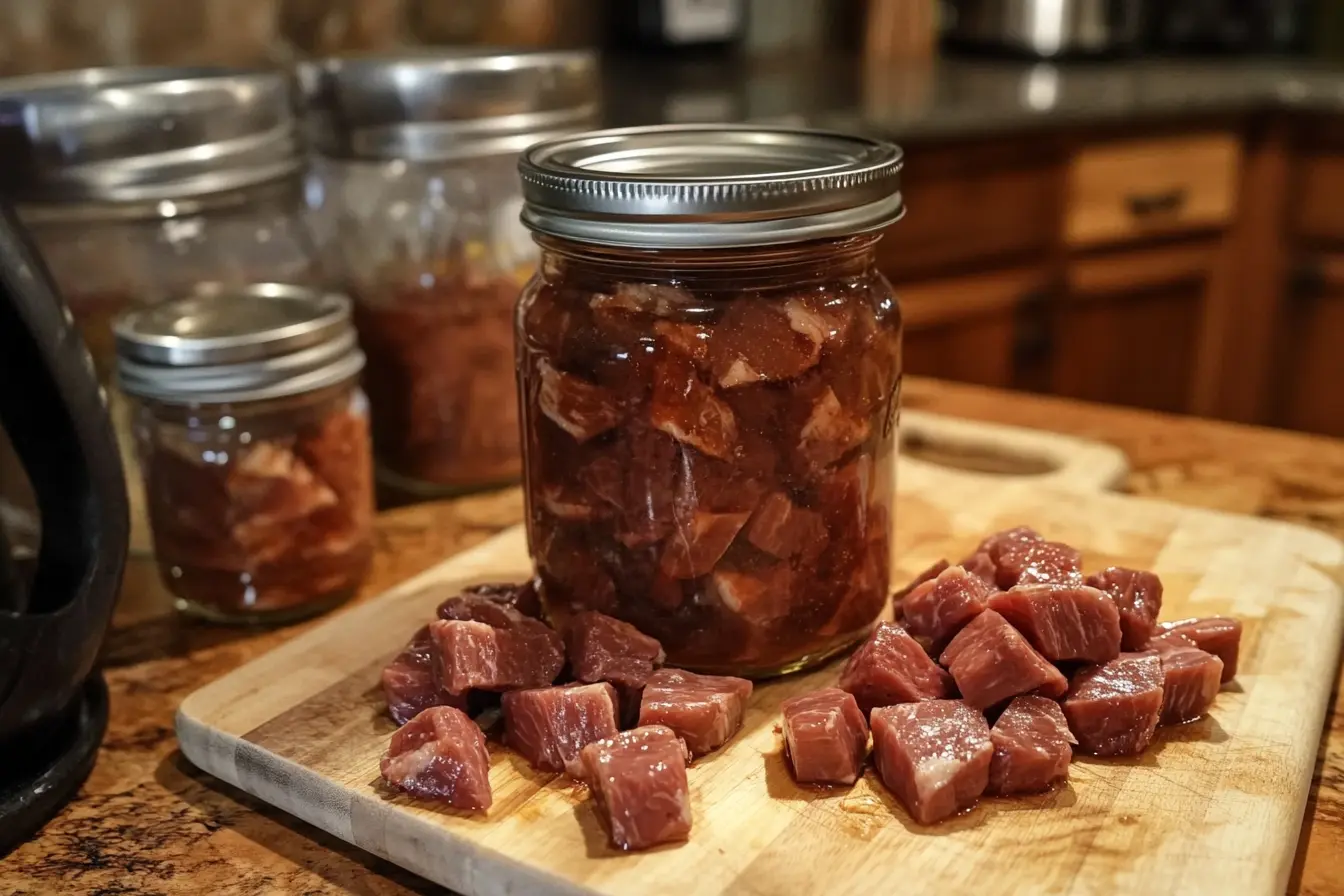
Canning deer meat is a traditional and practical method for preserving this nutritious and flavorful protein for months, if not years. Whether you’re an experienced hunter or just starting with preserving meat, this easy canning deer meat recipe will guide you through every step of the process. You’ll learn how to can deer meat with minimal fuss while ensuring the meat stays tender, flavorful, and safe for long-term storage. With the right tools, tips, and techniques, you’ll be able to create your own stockpile of canned deer meat that can be used in various recipes year-round.
Table of Contents
Why Canning Deer Meat Is a Game-Changer
Canning deer meat is more than just a way to store meat. It’s an experience that connects you with the food you eat and the traditions of preserving it for future use. Imagine harvesting a deer, processing it yourself, and then canning the meat to enjoy it in various meals over the coming months. There’s something deeply satisfying about knowing that you’ve handled the entire process from start to finish.
Not only does canning provide a practical way to preserve meat, but it also offers convenience. With jars of canned deer meat stored in your pantry, you can easily create hearty, home-cooked meals without the need for fresh meat. You’ll find that canning is a cost-effective method for keeping meat on hand for an extended period, especially during the off-season or when access to fresh venison might be limited.
What You Need for Canning Deer Meat
Before diving into the canning process, let’s make sure you have all the necessary ingredients and tools to ensure a successful canning session. Proper preparation is key to achieving the best results.
Ingredients for Canning Deer Meat Recipe
Here’s a quick breakdown of the basic ingredients you’ll need for canning deer meat:
| Ingredients | Quantity |
|---|---|
| Deer meat (cubed) | 4 lbs |
| Salt | 2 tsp |
| Black pepper | 1 tsp |
| Garlic powder | 1 tsp |
| Onion powder | 1 tsp |
| Water (or broth) | 2 cups |
| Canning jars and lids | As needed |
While these ingredients are the basic essentials, feel free to adjust the seasoning based on your preferences. Some people like to add herbs, spices, or other flavoring elements to make the meat more versatile for different recipes.
Tools and Equipment
- Pressure Canner: This is the essential tool for safely canning meat. It ensures that the meat is processed at a high enough temperature to kill bacteria and prevent spoilage.
- Canning Jars and Lids: The size of the jars depends on how much deer meat you plan to can. Pint jars are great for smaller portions, while quart jars work well for larger servings.
- Ladle and Funnel: These help ensure that you don’t spill or waste any of the broth or meat as you transfer it into jars.
- Measuring Spoons and Cups: For accurate seasoning measurements.
- Clean Towels: For wiping jar rims to ensure a proper seal.
With these ingredients and tools, you’re ready to start canning your deer meat.
Step-by-Step Guide to Canning Deer Meat
Now that you have your ingredients and equipment, let’s dive into the process of canning deer meat. Whether you’re new to canning or a seasoned pro, these clear, easy-to-follow instructions will guide you through the entire process.

1. Preparing the Deer Meat
Start by trimming any excess fat from the deer meat. The fat doesn’t can well and can affect the flavor of your canned meat. After trimming, cut the meat into uniform cubes—roughly 1 to 2 inches in size. This helps ensure that the meat is processed evenly and fits nicely into your jars.
Once your meat is cut, season it generously with salt, pepper, garlic powder, and onion powder. You can adjust the amount of seasoning based on your taste preferences. Some people also like to brown the meat in a pan before canning it to add extra flavor and color, but this step is optional.
2. Sterilizing the Jars
Before you start packing the meat, sterilize your canning jars. You can do this by placing them in a hot water bath for about 10 minutes or running them through a dishwasher cycle. Make sure the jars are completely clean and free of any residue.
3. Packing the Meat into Jars
Once your jars are sterilized, it’s time to pack the deer meat into them. Using a ladle and funnel, fill each jar with the seasoned meat, leaving about 1-inch of headspace at the top of the jar. Be sure to pack the meat tightly, but don’t overstuff it. You want the meat to fit snugly without being pressed too hard.
After the jars are packed with meat, pour water or broth over the meat, leaving another inch of headspace. This liquid helps ensure that the meat is fully covered during the canning process.
4. Sealing the Jars
Once your jars are filled, use a clean towel to wipe the rims of each jar. This is a crucial step because any leftover food or liquid on the rims can interfere with the sealing process. After wiping the rims, place the lids on the jars and screw on the bands until they are fingertip-tight.
5. Processing the Jars in a Pressure Canner
The final step in the canning process is using a pressure canner. Place the jars in the canner, following the manufacturer’s instructions. You’ll need to process pint jars for 90 minutes and quart jars for 100 minutes at 10-15 pounds of pressure, depending on your altitude.
It’s important to maintain a steady pressure throughout the process, as fluctuating temperatures can affect the outcome of the canning. Be sure to follow the canner’s instructions for venting and locking the lid.
Once the processing time is complete, turn off the heat and allow the canner to cool naturally. Once it has cooled down, remove the jars and let them sit at room temperature for 24 hours. After this, check that each jar has sealed properly by pressing down on the center of the lid. If it doesn’t pop back, the jar is sealed correctly. If the lid pops back, you’ll need to refrigerate or reprocess that jar.
Common Mistakes to Avoid When Canning Deer Meat
Canning meat is a precise process, and even small mistakes can lead to undesirable results. Here are a few common mistakes to watch out for when canning deer meat:
1. Not Using a Pressure Canner
One of the most critical rules of canning meat is that you must use a pressure canner. A water bath canner simply does not reach the necessary temperature to kill harmful bacteria, including botulism, which can cause food poisoning. Always use a pressure canner for meat preservation.
2. Overpacking the Jars
It’s tempting to try to fit as much meat into the jars as possible, but overpacking can cause problems with sealing. You need to leave at least an inch of headspace at the top of each jar. This allows the pressure and heat to circulate properly during the canning process.
3. Skipping the Sterilization Process
Sterilizing your jars is essential to ensuring the safety and quality of your canned meat. Without this step, your jars could harbor bacteria that could spoil the meat during storage. Always sterilize your jars before you begin the canning process.
4. Not Ensuring a Proper Seal
After processing your meat, make sure to check each jar for a proper seal. If a jar hasn’t sealed properly, it can lead to spoilage or bacterial contamination. Make sure the lid is securely sealed and doesn’t flex when pressed.
Pro Tips for Perfect Canned Deer Meat
To ensure that your canned deer meat comes out perfect every time, here are a few pro tips to consider:
1. Brown the Meat Before Canning
Browning the meat in a pan before canning adds extra flavor and color to the final product. It’s a simple step that makes a big difference in taste.
2. Add a Little Vinegar or Lemon Juice
A small amount of vinegar or lemon juice added to the broth can help tenderize the meat and improve its texture.
3. Store in a Cool, Dark Place
Once your jars are sealed, store them in a cool, dark place, such as a pantry or cellar. This will extend the shelf life of the canned meat and help preserve its quality for longer.
4. Label Your Jars
Don’t forget to label your jars with the date of canning. This will help you keep track of how long each jar has been stored, ensuring that you use the oldest ones first.
How to Use Canned Deer Meat
Once your canned deer meat is ready, you’ll want to know how to use it in delicious meals. Here are a few recipe ideas to get you started:
1. Hearty Stews
Canned deer meat makes an excellent addition to hearty stews. Just add vegetables, potatoes, and some seasonings, and you have a filling meal ready to serve in no time.
2. Sandwiches and Wraps
Canned deer meat can be used to make savory sandwiches or wraps. Simply heat the meat, and add your favorite condiments and vegetables.
3. Casseroles and Pasta Dishes
Canned deer meat is versatile and can be added to casseroles or pasta dishes for a hearty, flavorful protein boost.
If you want to learn how to safely can venison at home
FAQ Section
Q1: How long will canned deer meat last?
A1: When properly canned and stored in a cool, dark place, canned deer meat can last up to one year or more.
Q2: Can I use a water bath canner instead of a pressure canner?
A2: No, using a water bath canner is unsafe for canning meat, as it doesn’t reach the necessary temperature to kill harmful bacteria.
Q3: Do I need to add broth when canning deer meat?
A3: While not mandatory, adding broth or water helps ensure the meat is fully covered, preventing air from affecting the canning process.
Q4: Can I can deer meat without seasoning it?
A4: Yes, you can can deer meat without seasoning, but seasoning it enhances the flavor. You can always add seasoning later when cooking.
Ready to try canning deer meat yourself? Don’t wait—grab your supplies and start preserving this delicious, versatile protein today!
Conclusion: Enjoy Your Delicious, Home-Canned Deer Meat
Canning deer meat is a great way to preserve this flavorful and nutritious protein for months to come. With the right ingredients, tools, and techniques, you can easily create jars of canned meat that are perfect for a variety of recipes. Not only will you enjoy the fruits of your labor for months, but you’ll also have the satisfaction of knowing that you’ve mastered a valuable skill.
So, grab your pressure canner, gather your ingredients, and start canning! You’ll soon have your own stockpile of delicious, home-canned deer meat ready for any meal.

